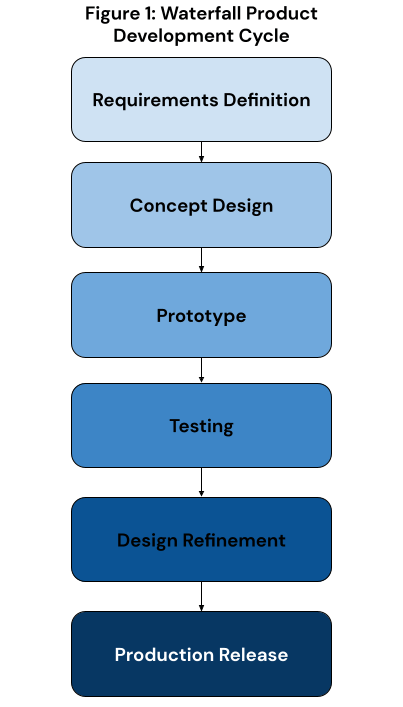
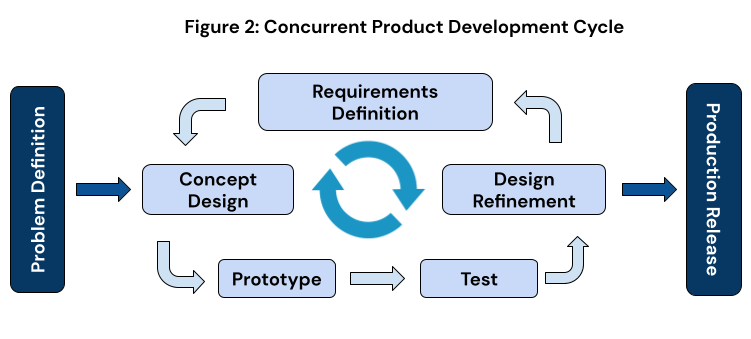
The traditional approach to engineering was to follow a sequential design process, known as the “waterfall” method [Fig 1]. Projects following this workflow often encounter delays as the creation of a physical prototype acts as the gate-keeper to product completion. Modern engineering methods have evolved towards a concurrent design philosophy [Fig 2], which employs the simultaneous development of design, prototype, requirements, and manufacturing. Prototypes provide a real-world understanding of ergonomics, aesthetics, function, accessibility and manufacturing. One of the key elements of the concurrent design workflow is rapid prototyping to quickly test variations and gain a better understanding of the challenges of the project. These are 5 strategies for rapid prototyping that MACABItech utilizes:
- The “Alpha”:The purpose of the Alpha Prototype is to validate the viability of your design, it’s overall dimensions and basic functionality. It is important to create your first prototype quickly without preconceived notions about how it will function. The emphasis should be on failing fast to highlight design discrepancies and to keep the momentum of the project going. Alpha prototypes are usually created from readily available off-the-shelf components. Cardboard, paper-mache, clay, unistrut, wood, wire, and foam are all good options for bringing your idea to life.
- Digital Twin, but not right away:
Just like with your physical prototype eventually evolving into a refined pre-production unit, your CAD models should represent the digital twin of the real thing. The digital twin should also evolve into its final form through the creation of new models, rather than the perpetual refinement of an original file. Create rough concepts of your design early, using non-parametrized modelling for light-weight, fast, and on the fly design decisions. Gradually, implement parametrization and add detail, such as edge breaks, assembly hardware, plumbing and wiring.Imagine a car manufacturer taking their clay model of the form of the car and asking the engineers to use the same physical body as the basis for a functioning prototype. It’s a ludicrous concept, and yet many engineers pursue a single, bloated CAD model throughout development. Instead, starting over with your model at the right times, just like transitioning between alpha and beta physical prototypes, allows you to implement everything you’ve learned.Companies use digital twins to simulate performance in real world environments. For machine builders, this could mean tracking changes to the components as they happen and maintaining a history of those changes in the digital twin. Digital twins in pre-production prototypes are effective because they help define the desired behavior and track changes to the physical prototype. However, in prototyping, the digital twin should be a final step, and incrementally more detailed designs should be stepping stones. - Miniaturized Prototype Manufacturing:
There’s a lot to be learned from scale models, and at a significantly lower cost than full size manufacturing might cost. For example, when MACABItech was tasked with designing a workshop for Virtudent Inc, after putting together a preliminary floor plan in CAD we created a miniature physical mock up of all of the equipment and machinery meant to fit into the space. Optimizing the distance between workstations that are in sequence, minimizing obstructions, and centralizing common tooling all happened in our miniaturized model, prior to the final set up of the workshop. Having the scale model is a great way to see what the configuration of the place feels like, but also a great way to calculate time wasted in unfavorable set-ups.Having scale model prototypes is useful, particularly for larger products that are prohibitively expensive to iterate on. MACABItech utilized this strategy when developing a bicycle stem, by scaling the model to ⅛ of its original volume. This may seem drastic, but consider that if you make your length, width, and height smaller by half, the end result is an eighth of the volume of the original. The bike stem required 12.5% of the metal to be removed, 12.5% of the machining time, and 12.5% of the total material cost! We used this scale model to quickly iterate on aesthetic and function, so that when we moved up to full scale model, most of the work was done!If you’re looking to test material dependent properties of your design for metal parts that require machining (subtractive manufacturing), scaling your model is a huge time and money saver. - 3d Printing:
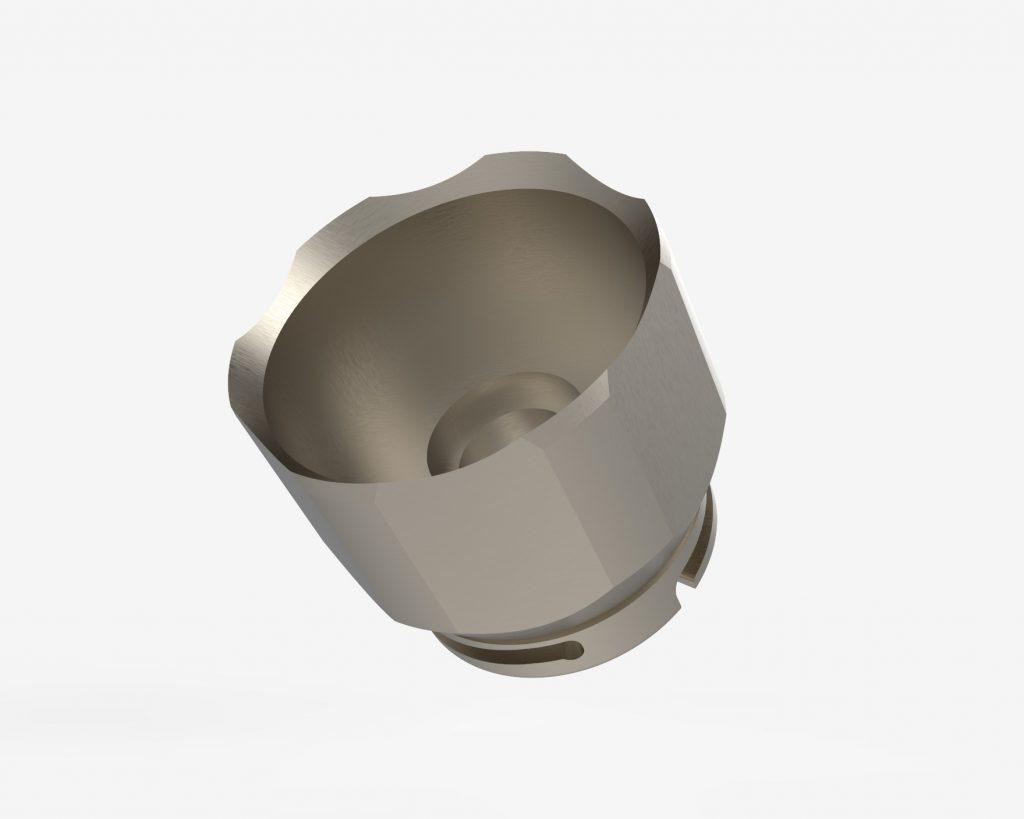
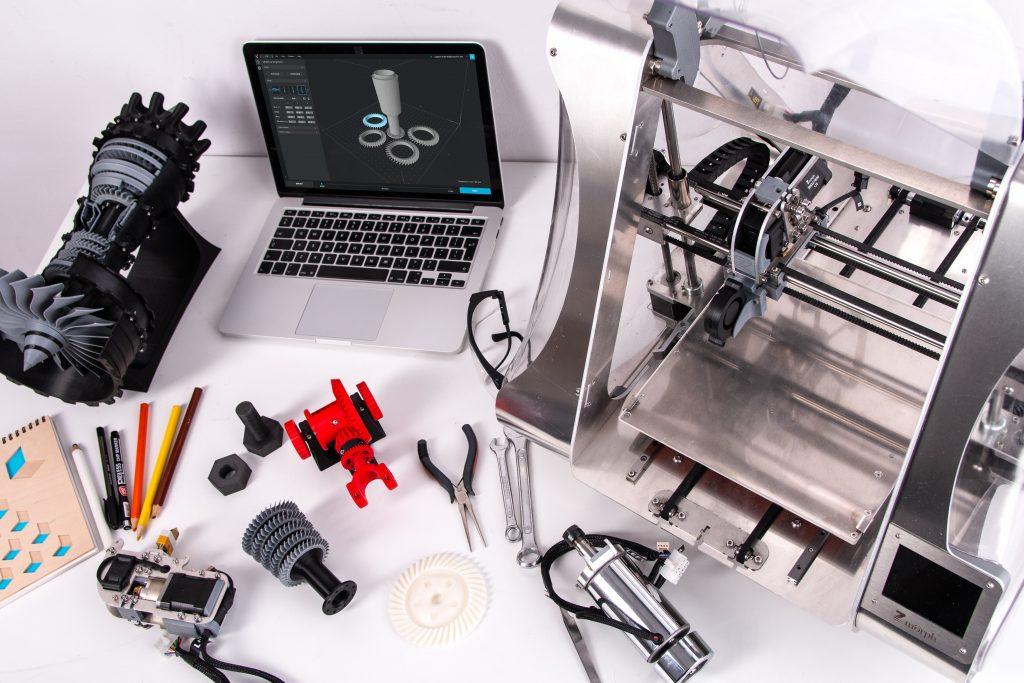
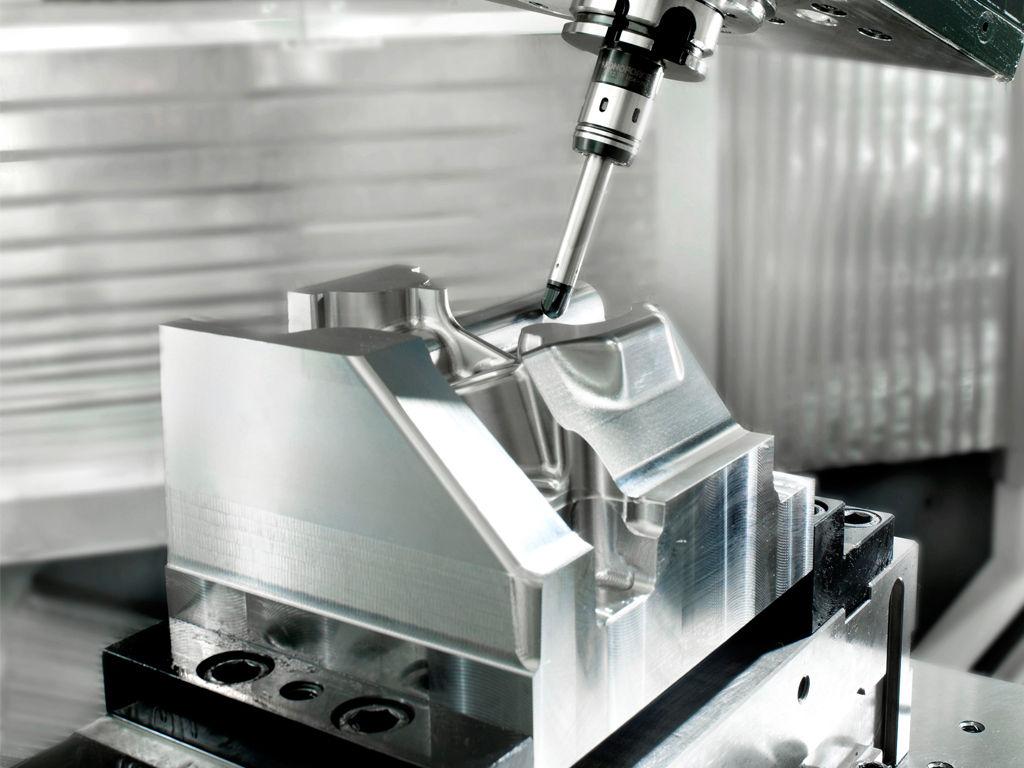
The proliferation of 3d printing technology has enabled engineers to manufacture detailed prototypes from CAD models at an unprecedented rate. 3d printing can be used for alpha, miniature, and cut-out versions of prototypes. Typical desktop printers are incapable of manufacturing prototypes that are as structurally resilient as machined or injection molded parts, However, they’re accuracy and precision are the perfect tool for functional testing without the high cost of tooling associated with traditional manufacturing methods. For example, creating a prototype for a 4-axis machined part like the Macris Industries Pico [Image 1] is $40 when printed from ABS compared to $620 when CNC machined, a savings of 93%. Another major advantage of 3d printing is the ability to prototype 3d molded parts, non-prismatic geometry and fully functional assemblies that would be impossible to manufacture in traditional manufacturing processes. - Fail Fast:
Shortening the distance between talking about an idea and prototyping is key to creating a successful design. Ideas are of little use if they stay put as ideas. You can only assess their merits when you bring them to life and let others interact with them. Accepting that failure is part of the process is an essential part of design thinking. This mindset keeps the project’s momentum going and allows engineers to generate tangible results without the paralysing fear of perfection at first try.
